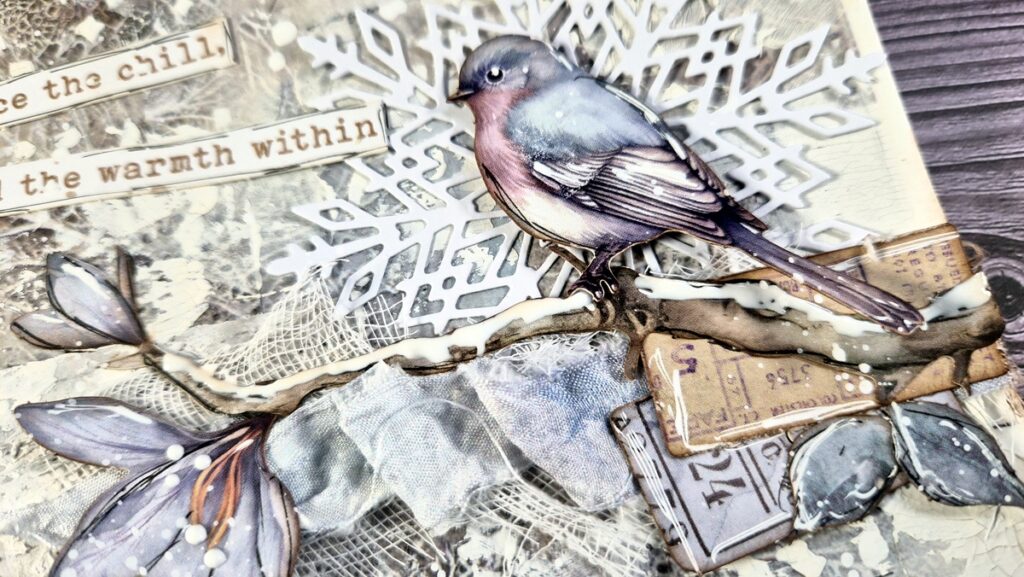
I have a quick video for you today, sharing 3 ways to make distress inks permanent. This is one of the most common questions that I get, so I thought to share some techniques with you. Distress inks are amazing just because they react with water and they are not permanent. It gives you the ability to play with many different techniques. But if you want to stretch these inks even more then I hope the video is helpful!
In the video below I demonstrate all the different ways and show you how you can end up with a clean result when applying pastes on top of these inks.
Supplies:

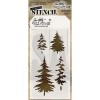
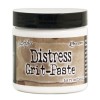
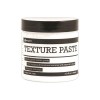
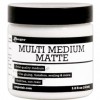
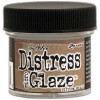

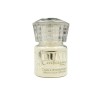
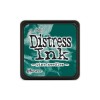




Thanks Vicky. Very helpful!
I like learning about the micro glaze. That is something I need to pick up. Thanks for sharing this video. Very informative
Extremely well done video showing the differences. Thank you so much. Love your videos!
This was so helpful, thanks. I think the Micro Glaze came out the nicest.
thank you for the video. very informative.
Thank you for this video lesson, Vicky! The time you took to present it will save many of us hours of frustration as well as money! Your videos are so professionally produced and I always love seeing Ginger, too!
Very helpful technique video , Vicky. Thanks so much for your time and effort in creating it.
Who knew? Nice information and tip. It’s the details that matter most when making crafts or doing some art project. Such videos really remain in the memory and come handy at times when you need some advice. Thanks.
Thank youfor the tips!Really helpful!
Great comparison. Thanks for this info.
Very helpful, thank you Vicky! I appreciate the time you took and effort you made for teaching this.
thank you for this!
Thank you for taking the time to show those different techniques. So very helpful
Thanks, glad I can use the multi medium matte to tackle the bleeding problem, no shopping!
This is great – thank you!
Vicky
This was a great tips video…..My first Xmas tree cards all ended up with green stained snow!!!Now after your helpful video ,I know how to avoid this mistake. More of these video tips would be great.Thank you for your expertise.
Awesome Vicki…VERY helpful. Thanks!
Thank you. Very useful.
Merry Christmas and Happy New Year!
Sandra
This video was very helpful. Well done.
Just the information I was looking for! Thank you.
Thank you so much