Hi crafty friends! Today I am sharing 4 different looking cards using the same background stamp. I will demonstrate 3 different ways to work with a background stamp to get different results. You can use the same techniques with any background stamp you have on stash. I used the Poinsettia background stamp since it’s such a gorgeous design and it comes from the latest STAMPtember release.
video tutorial
You can enjoy the video below or at my YouTube channel
close-up photos
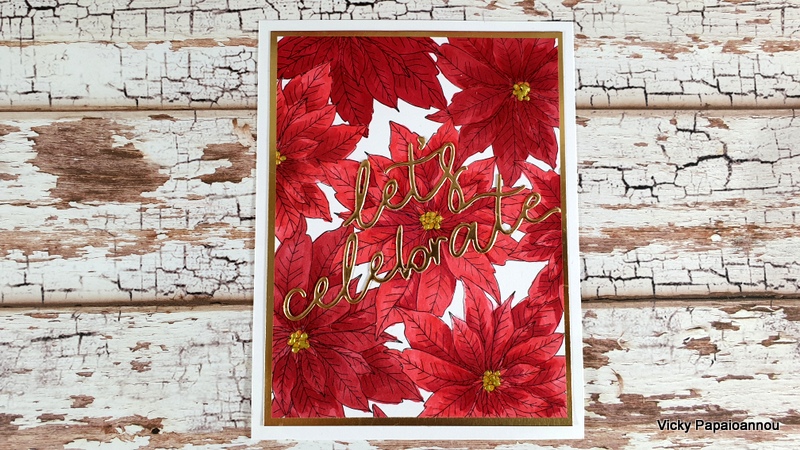
1. stamp and color
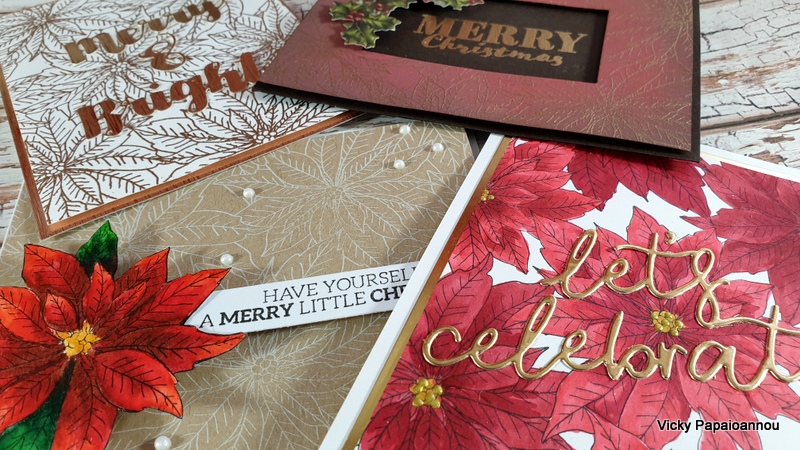
For the first technique all you have to do is stamp the background stamp and color with your favorite medium. I used my Altenew markers for that and then added a sentiment on top. It is a simple design but depending on the design it can be time consuming coloring everything. So this is not a card to mass produce but rather a card for someone special ! The sentiment is the SCRIPTY LET’S CELEBRATE Wafer Die again from the latest STAMPtember collection.
2. Heat emboss
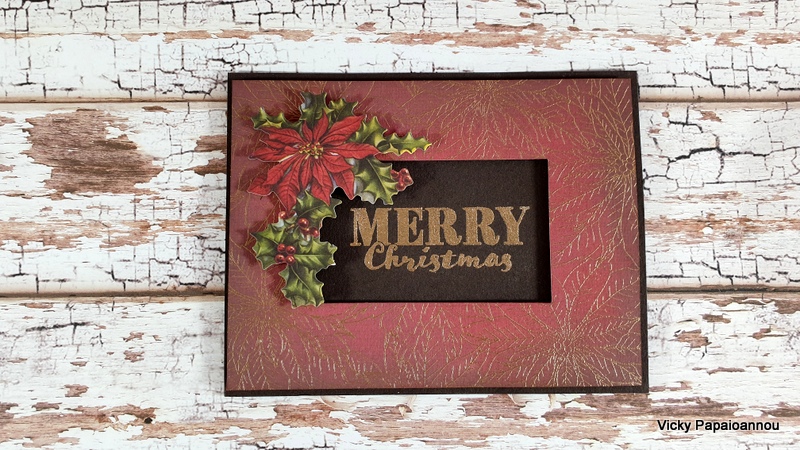
For the second technique you can emboss the design using different colored embossing powders on various cardstock. You can get completely different looks this way and I share 2 cards with this technique.
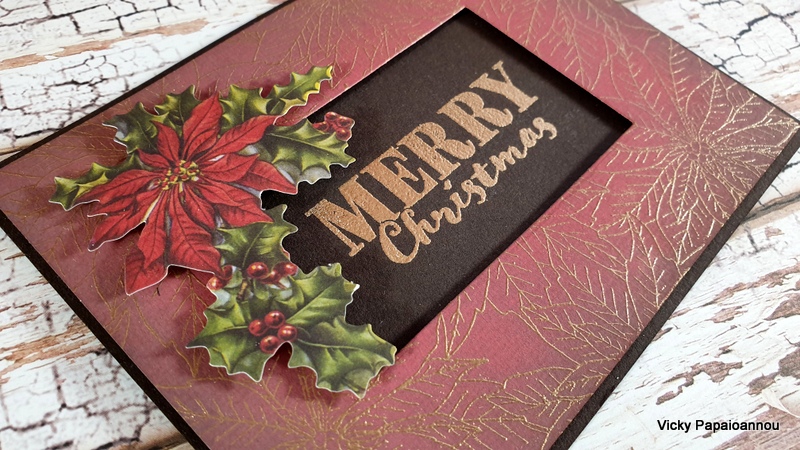
For the first one I used antique gold embossing powder over red cardstock. I went for a traditional vintage look and here is the outcome
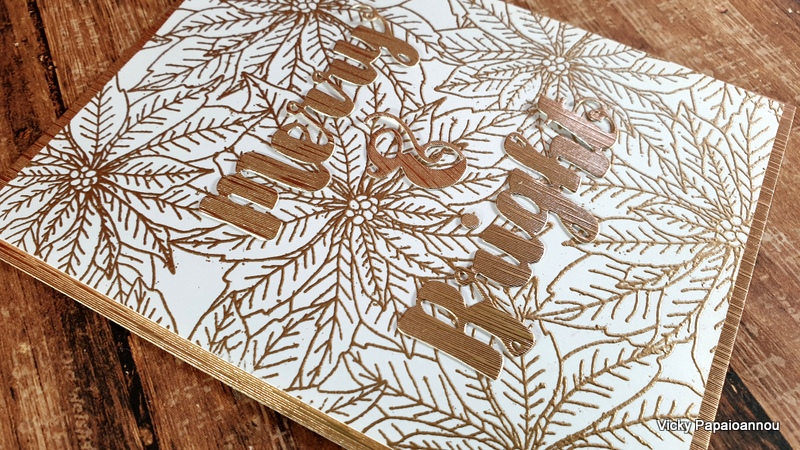
For the second card I went again with antique gold powder but this time over white cardstock. The two cards look different but they really are the same! This time I just die cut a sentiment to stick it on top and I was done. And you can see how I got a more modern look and feel on this card.
3. Stamp and cut
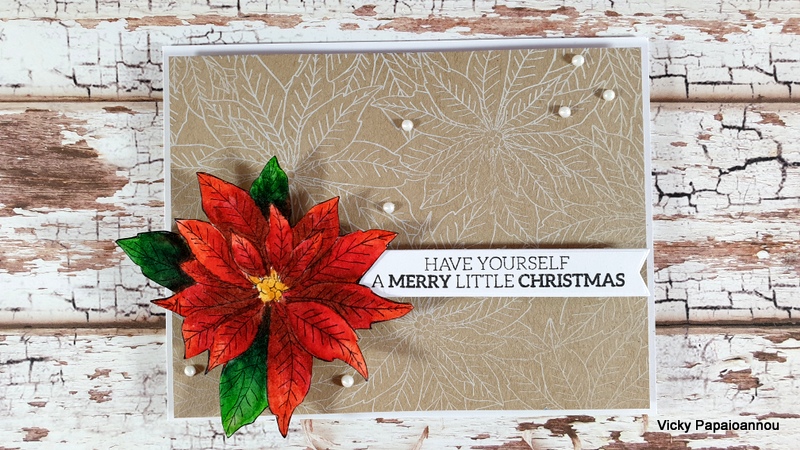
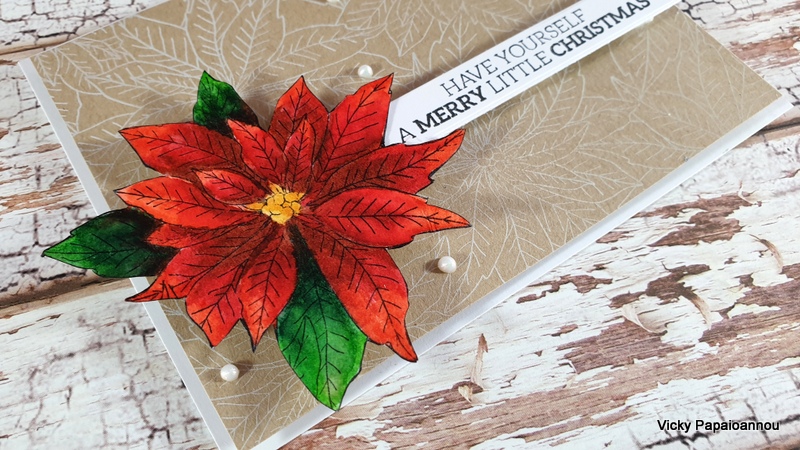
For the third technique I used only an area of the background. I stamped and colored only one poinsettia and then cut it out. This way you can create a focal point that you can pop on top of you card.
supplies
Below you can find a list of all the products used today. Affiliate links used where possible at no extra cost to you.
|






Beautiful designs! You always make things special.
Beautiful cards! 🙂
Hi Vicky
So lovely to see your latest post. Loved these beautiful designs from that background stamp. Very inspirational…looking forward to many more posts now that you are back in action,& kids back in school.
All so very pretty, but the first one you colored its just amazing!! My son has been having surgery every week on his kidneys. Tomorrow we got back for #5, then Wednesday next week is hopefully our last surgery and he will be stone free and stints unstuck and replaced! Hope you had a wonderful August!!
Love the different looks you got from the same stamp. All are different and unique and equally beautiful. Those reds you used are so vibrant, they scream Christmas and are so rich and beautiful. Thanks, Vicky.
Love your cards! All are lovely! I do have a question for you about keeping glue off the gold lettering in the ‘celebrate’ card. I like the look of the gold against the background but always manage to get some glue on the front of the gold paper. Do you have a tip for avoiding this or cleaning up the glue on the gold?
If you find you are messy with glue you can avoid it by using sprayadhesive or you can use double sided adhesive sheets on the paper before cutting. This way the sentiment will be a sticker. I just go with glue and I love nuvo deluxe because it allows me to apply just a bit and also dries clear… without leaving a shine.
I love that you created variations of the same stamp. You effectively showed many ways and styles to use with only one stamp and is so helpful in stretching our supplies. The deep red and brown card is very different, gorgeous, and somehow old fashioned but not sure why. I LOVE that card and would never have thought about brown and red for Christmas without your stunning card to light the way!
Wow Vicky, these cards are all awesome and got me inspired how to make some of my Christmas cards. Thank you so much for showing and have a wonderful day.
GORGEOUS poinsettia cards! I especially love the one stamped on red cardstock!
WOW, it is amazing how you can create 4 cards with the same stamp! My favorite is the first one you made because I’m crazy about poinsettias and the more the merrier! And the coloring is awesome! Thanks so much, Vicky, for making such great videos! Some of the artists are not making videos any more, which is such a shame! Thanks again!
These are all just beautiful! Thanks for sharing them with us. You give us great inspiration!
Your cards are all awesome. Your ideas really do expand the uses for this beautiful stamp. Thanks for the wonderful inspiration.