Hi! today I share a fun technique using embossing folders and waxes! Embossing folders are really popular lately as they give an amazing dimention on your projects but f you combine them with waxes they results are stunning, since they bring out all the details of the design.
video tutorial
You can enjoy the video below or at my YouTube channel
close-up photos
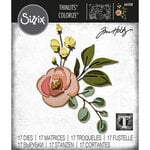
The beautiful flowers and leaves are just some of the dies from the Tim Holtz dies – Bloom Colorize ( SBC | SSS ), I used only the small ones for a delicate result that would fit nicely inside my frame.
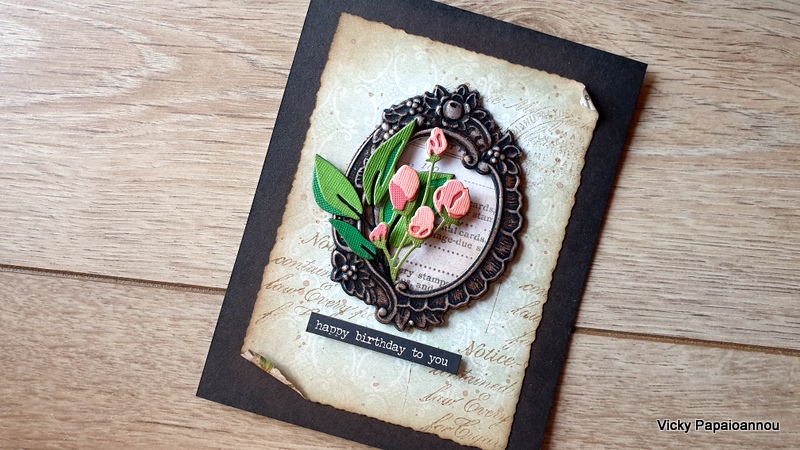
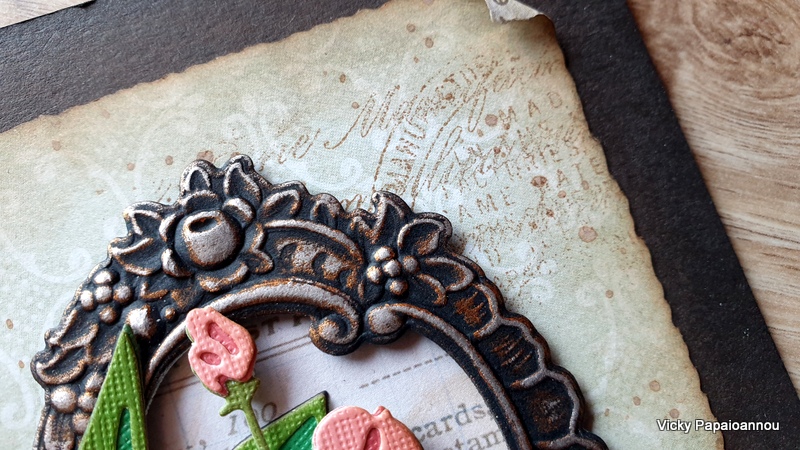
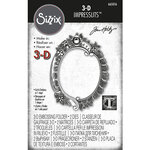
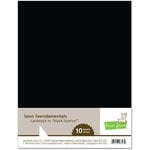
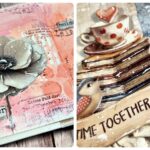
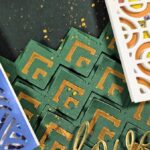
For my frame I used the Embossing Folder – Floral Frame( SBC | SSS ). It’s an embossing folder that not only adds dimention but it also cuts out the design. I used black cardstock for cutting out the frame and then by applying waxes it took that into a whole new level! Make sure to watch the video to see waxes over embossed areas in action.
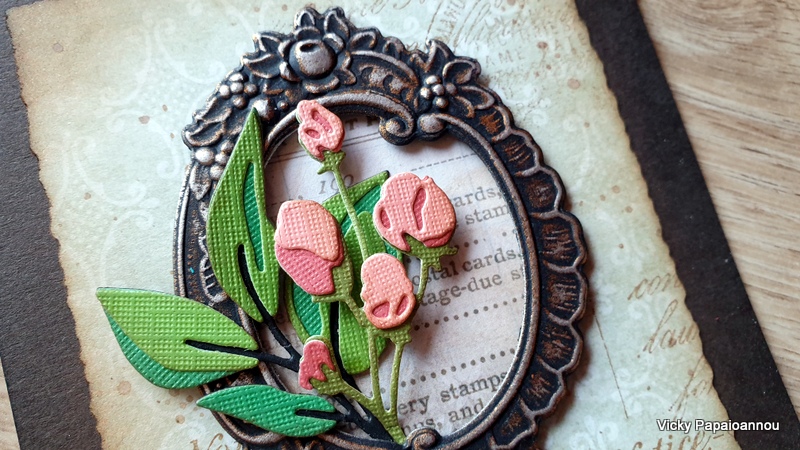
Since I was going for a vintage look I did combine patterned papers that match my theme as well as stamping and inking with vintage photo. A lovely touch on a project like this is to use the Tim Holtz Deckle Torn Edge Trimmer( SBC | SSS ) to cut out the paper panels.
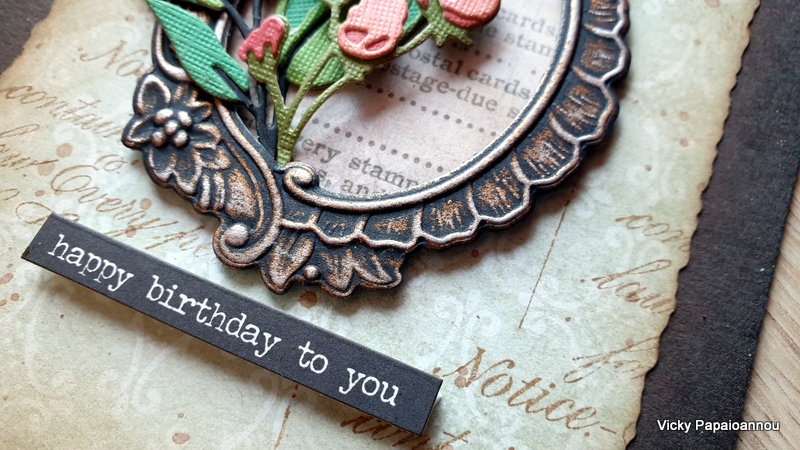
I ust love the look of that frame! It’a a combination of Firebird Metallique Wax ( SBC | SSS ) and Old Silver Metallique Wax ( SBC | SSS ).
supplies
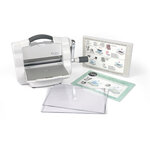
Below you can find a list of all the products used today. Links to multiple online shops are available, just click the logo below each item. Affiliate links used where possible at no extra cost to you.
|









What a gorgeous card.
Such a beautiful card. Your vintage cards are my favorite!
I love your vintage cards! Having just received the frame you used in the video, this video is very timely for me! In fact, I’m working on a vintage card that features that frame and some paper dolls. It’s a lovely frame and I SO appreciate seeing what you did with it. Time to get the waxes out!!! Thanks so much, Vicky. I really appreciate seeing what you did with the frame and some reminders on how to pull a vintage card together! Happy Easter!
Fabulous! I thought on first look that the frame was metal – the technique you used gave it that look without the bulk. Love it!
I was at the store yesterday and bought several dies and 3d embossing folders from the new Tim Holtz line. I didn’t grab the ones you just used but I guess I have to go back and get them. You inspired me.
So beautiful! I also got the new TH glazes….any ideas on that Vicky? Maybe another tutorial ?
Thank you❤️
I love, love this card! Tim’s latest release has so many items that are on my wishlist, including this floral die. Now, I am adding the emboss and cut, too!
Love this card….I use Rub ‘n Buff but only have two colors left so will have to check out these waxes that you used! Thanks so much for the memory jog!
VERY NICE. I WILL HAVE TO TRY COLORS IN MY WAX. DID NOT KNOW THERE WAS MORE THAN SILVER AND GOLD.
HAVE A HAPPY EASTER
This is so beautiful! The frame is amazing and the I loved how you added the black soot to the brown mat. It was the perfect accent (and nice to see that great inspiration doesn’t always happen in sensible assembly order). Thank you so much for sharing!
Wow!!! Absolutely Gorgeous card!!!!
Such a beautiful card and I love those flowers with the frame, perfectly in scale. I will definitely be trying a similar one. Thank you for your instructive videos as well.
Stunning card Vicky, I love the wax on the embossed frame. When I remember correctly whe have a similar product and will try this technique with it.
Thank you so much for sharing, stay safe and have a wonderful Easter Weekend.
Gorgeous!
Hi, from Colorado! Beautiful card!
Love your videos
I am living in Mpls Mn
I love seeing different card tutorials to get inspiration for when I make my cards…thanks