Have you ever played with the Postage Collage line of products?!
The beauty of the Postage Collage die is its incredible versatility for year-round crafting. While this project features spring designs, the grid layout acts as a permanent “blueprint” for your creativity. It eliminates the struggle of figuring out a balanced composition because the die does the work for you. Whether you are a beginner or a seasoned pro, this system allows you to build professional-looking scenes in minutes rather than hours.
In this project, you can learn how to create beautiful, professional-looking cards using a versatile postage die system. By layering different stencil sets, you can easily build intricate scenes like an Easter egg hunt or a classic daffodil focal point. Watch the video HERE.
Pro Tips for Perfect Layering
To get the most out of your layering stencils, keep these three tips in mind:
-
Vary Your Ink Pressure: Use a light touch for the base layers and heavier pressure on the edges to create instant depth without needing extra ink colors.
-
Use Registration Marks: Most Waffle Flower stencils include engraved guides to help you line up each layer perfectly with the previous one.
-
Mix and Match: Don’t be afraid to combine different stencil sets.
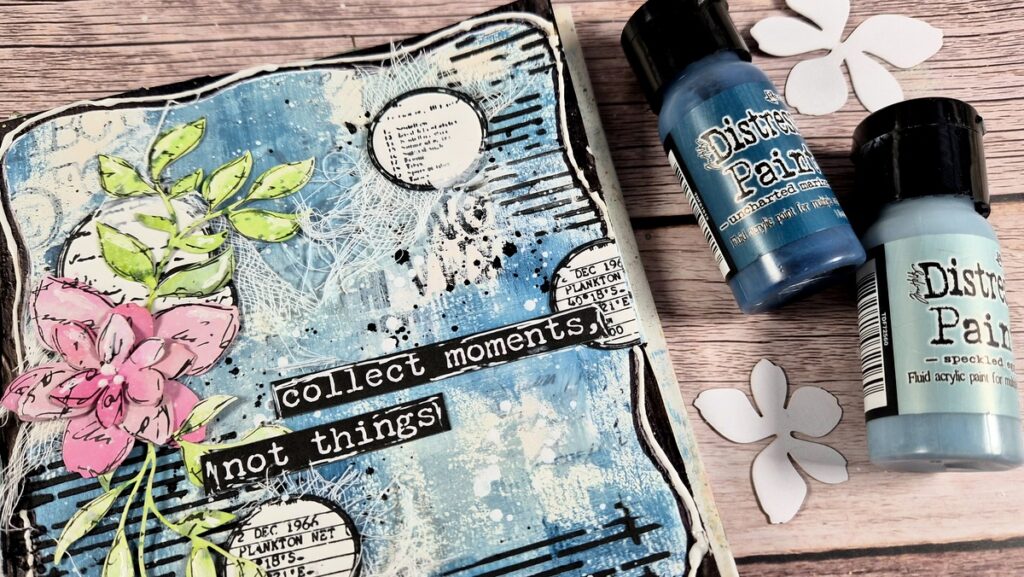
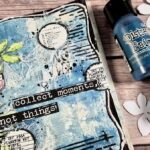
Adding the Finishing Touches
Beyond the ink blending, consider adding texture to your card base. Using a cross-hatch or linen texture die for the background adds a subtle touch of elegance that makes your focal point pop. Top it off with a scripty sentiment and some foam tape for dimension, and you have a “frame-worthy” piece of art ready to mail.
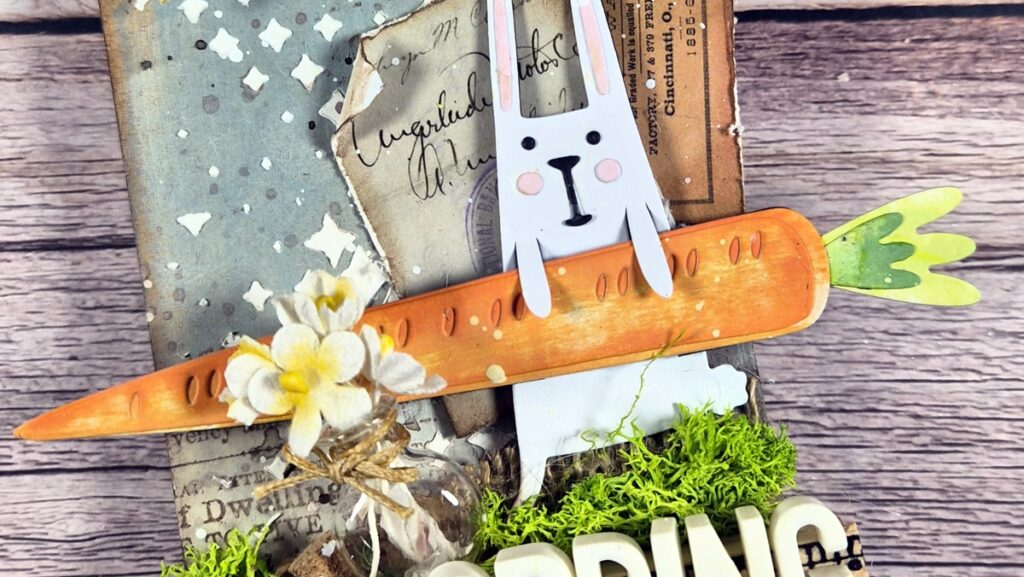
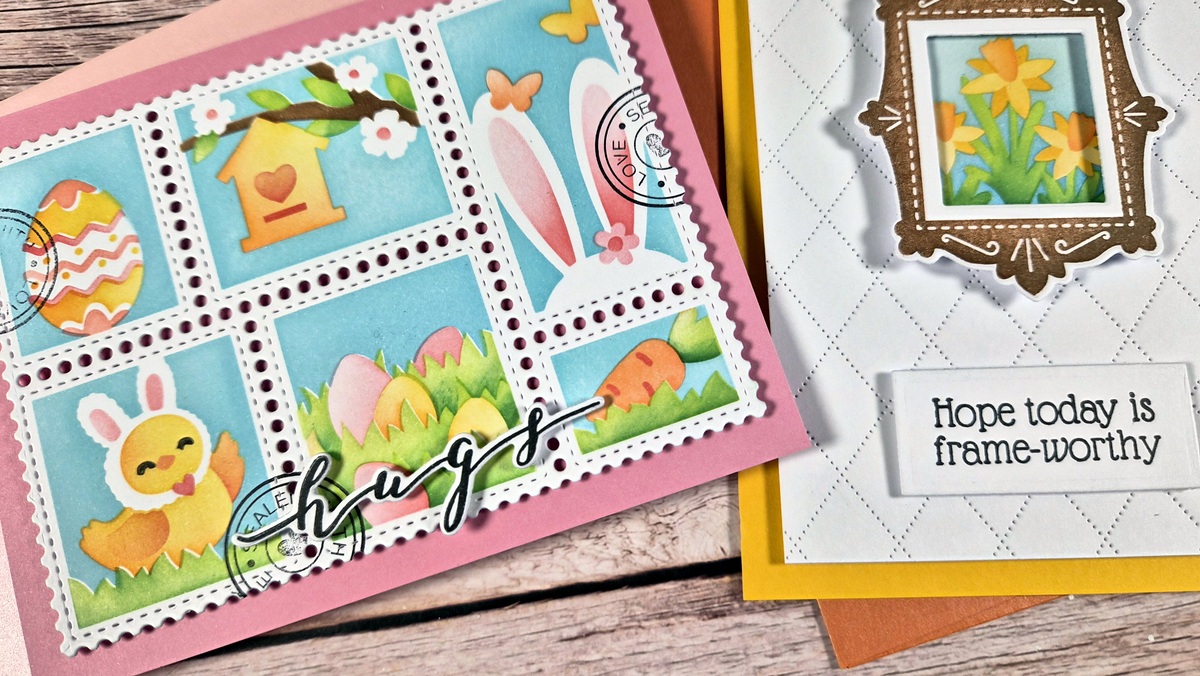
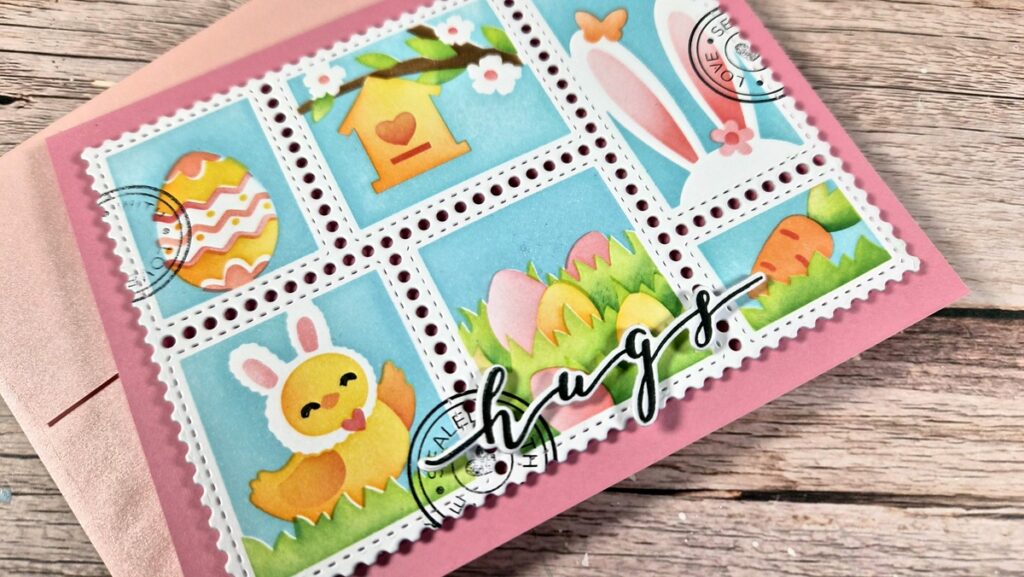
Card 1: The Egg Hunt Collage
This design uses the Postage Collage Die combined with an egg hunt stencil set to create a multi-panel scene.
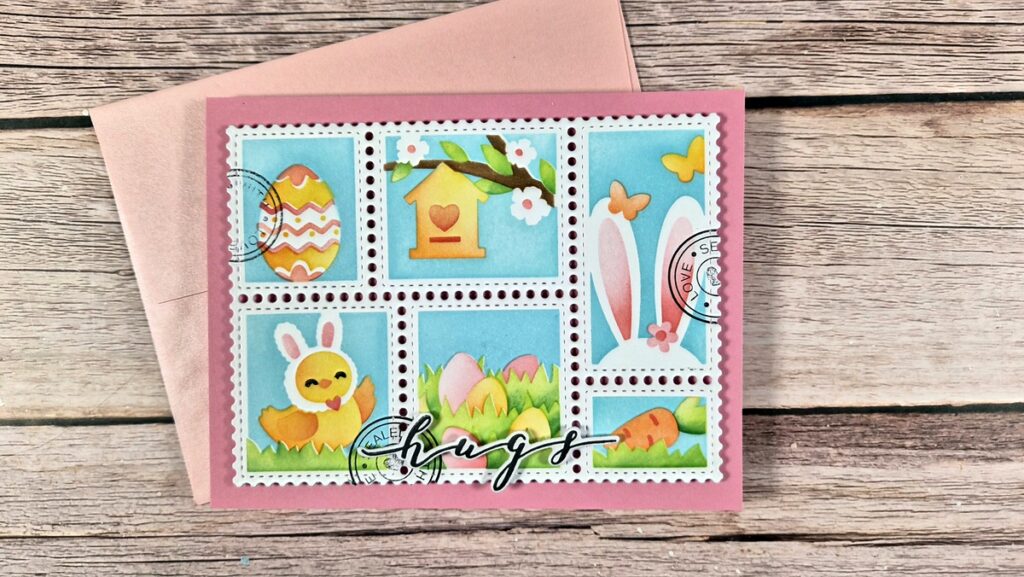
and here is a close – up
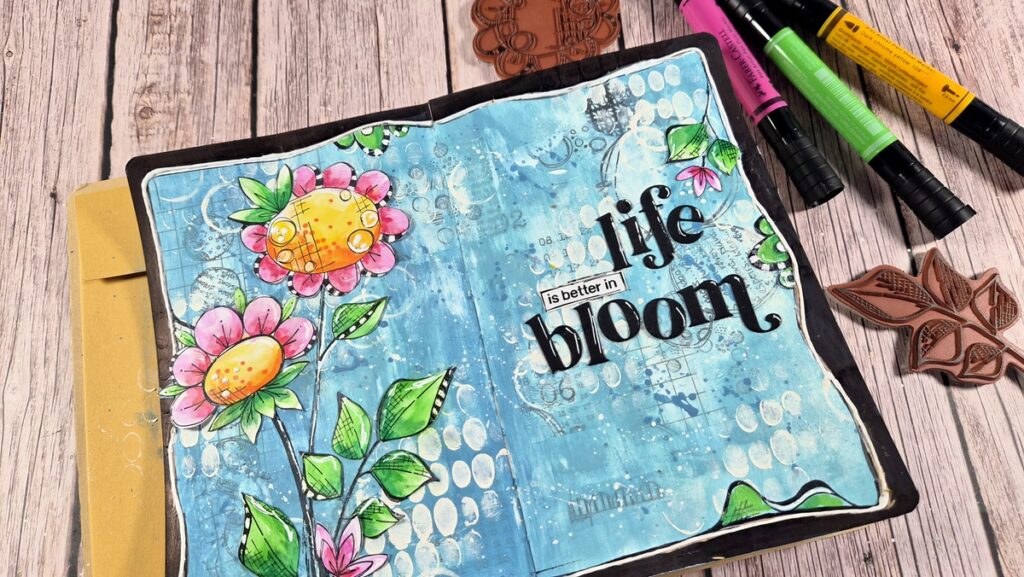
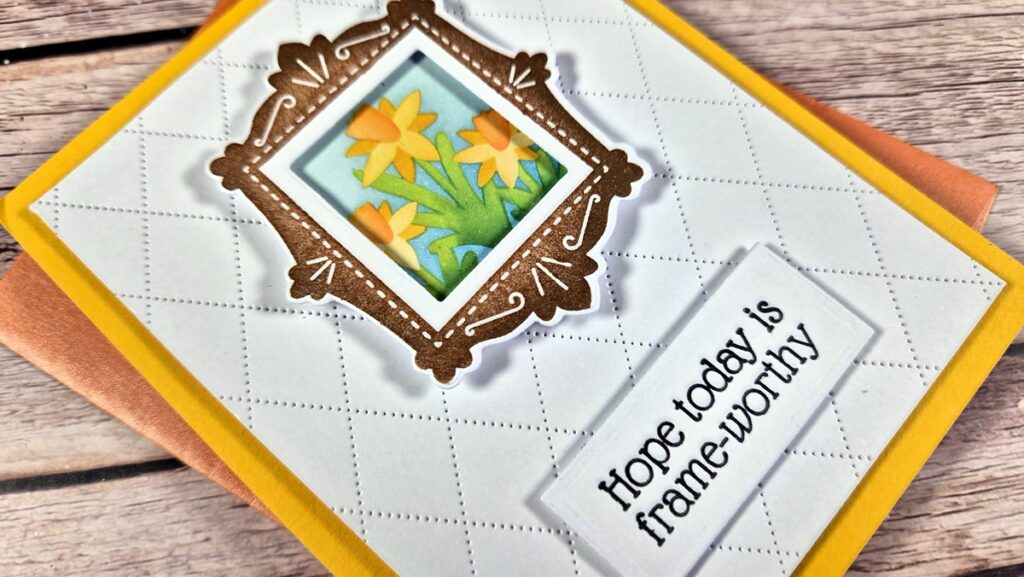
Card 2: The Framed Daffodil
This second card focuses on a single “frame-worthy” image using a square stencil and decorative postal frame.

and here is a close-up
Supply List
|